Ubuntu 22.04 安装 JupyterLab
1. 安装 Anaconda 3
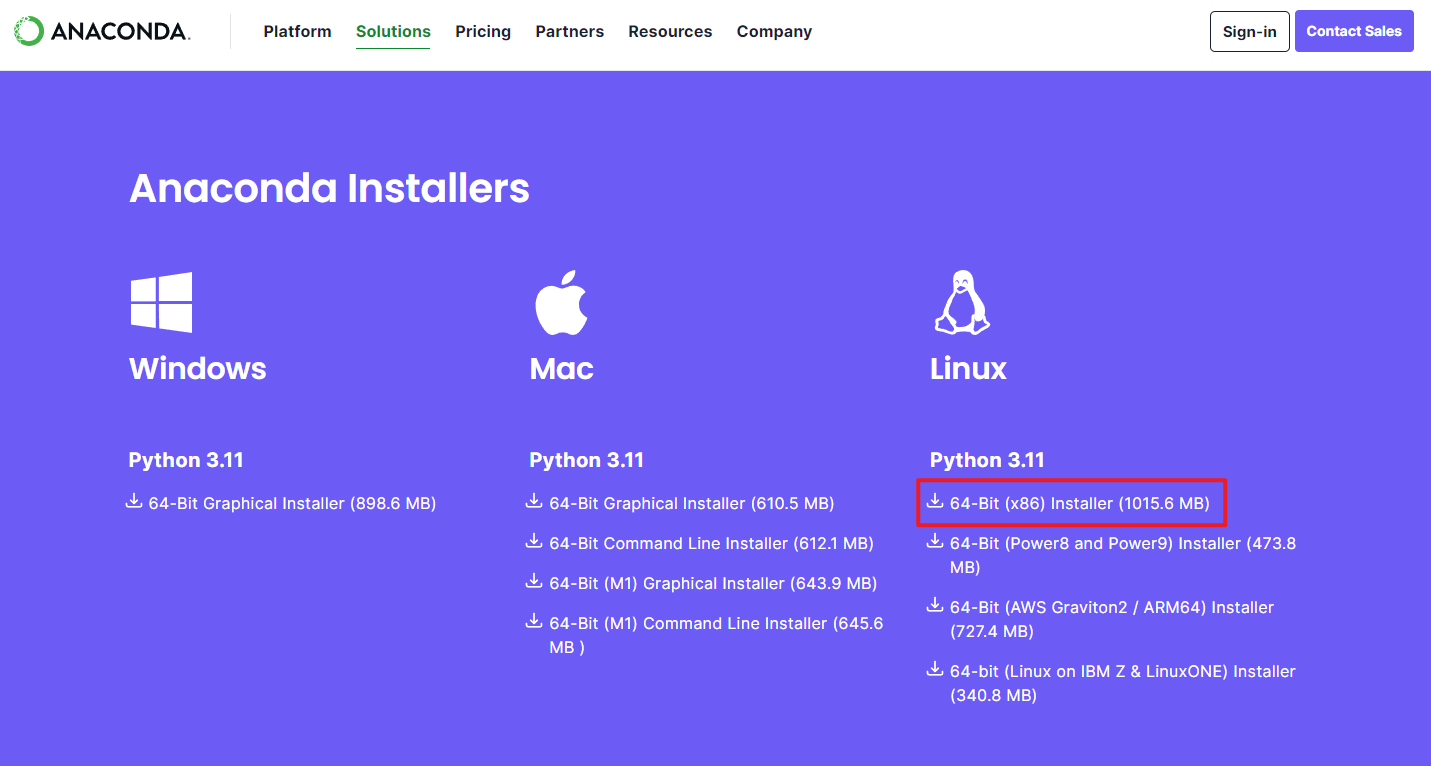
进入 Anaconda 3 下载页面,选择
Linux 64-Bit,复制下载链接后通过 wget下载安装包
1 | |
给予安装包可执行权限并安装
1 | |
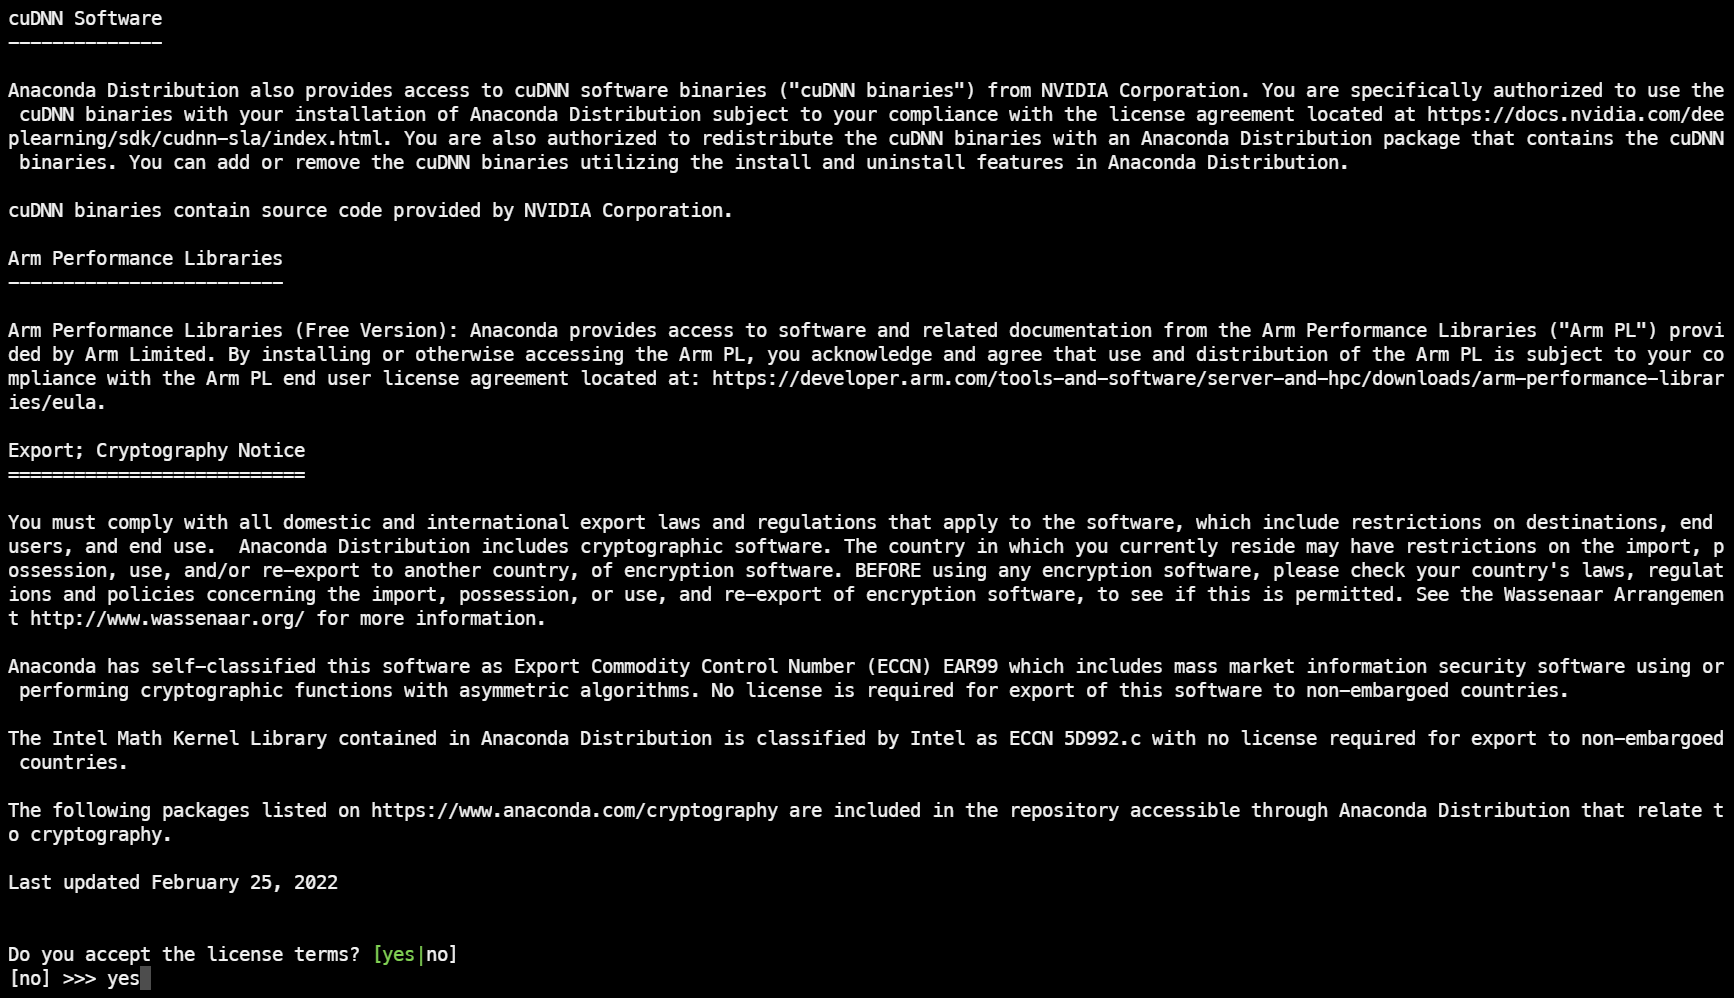
一路回车,最后同意 EULA
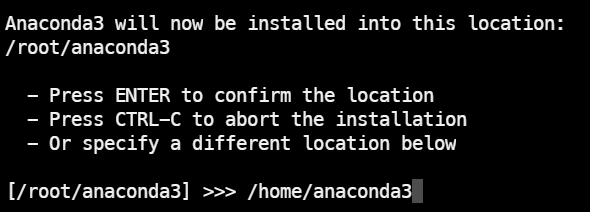
输入 Anaconda 3 安装路径,这里选择安装在 /home/anaconda3
下
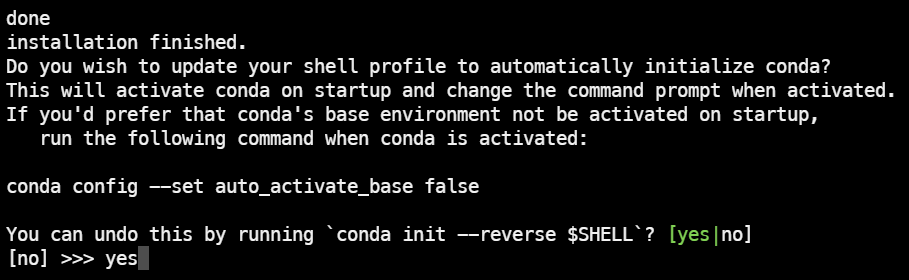
进行 conda 初始化
将 Anaconda 3 添加到用户环境变量中
1 | |
在文件末尾加入以下环境变量,将 PATH 内改为 Anaconda 3
安装路径
1 | |
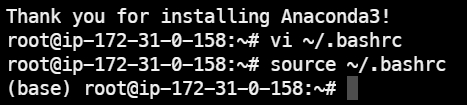
激活环境变量
1 | |
当看到终端前带 (base) 则为安装成功
2. 安装 JupyterLab
本文将在 base 虚拟环境中安装
JupyterLab,便于后期更换内核
先升级 pip
1 | |
再通过 pip 安装 JupyterLab
1 | |
3. 配置 JupyterLab 并启动
1 | |
编辑生成的配置文件
1 | |
在文件开头添加以下代码
1 | |
本文将 JupyterLab 运行目录设置为 /home/lab
,可自行更改
由于 JupyterLab 中很多功能需要 nodejs
的支持,例如插件,在启动之前先安装好
nodejs,避免后续启动话在出现因没有安装nodejs
而出现异常
1 | |
通过 screen 创建虚拟终端,使 JupyterLab
可以在后台运行
1 | |
1 | |
在新建的终端中运行 JupyterLab
1 | |
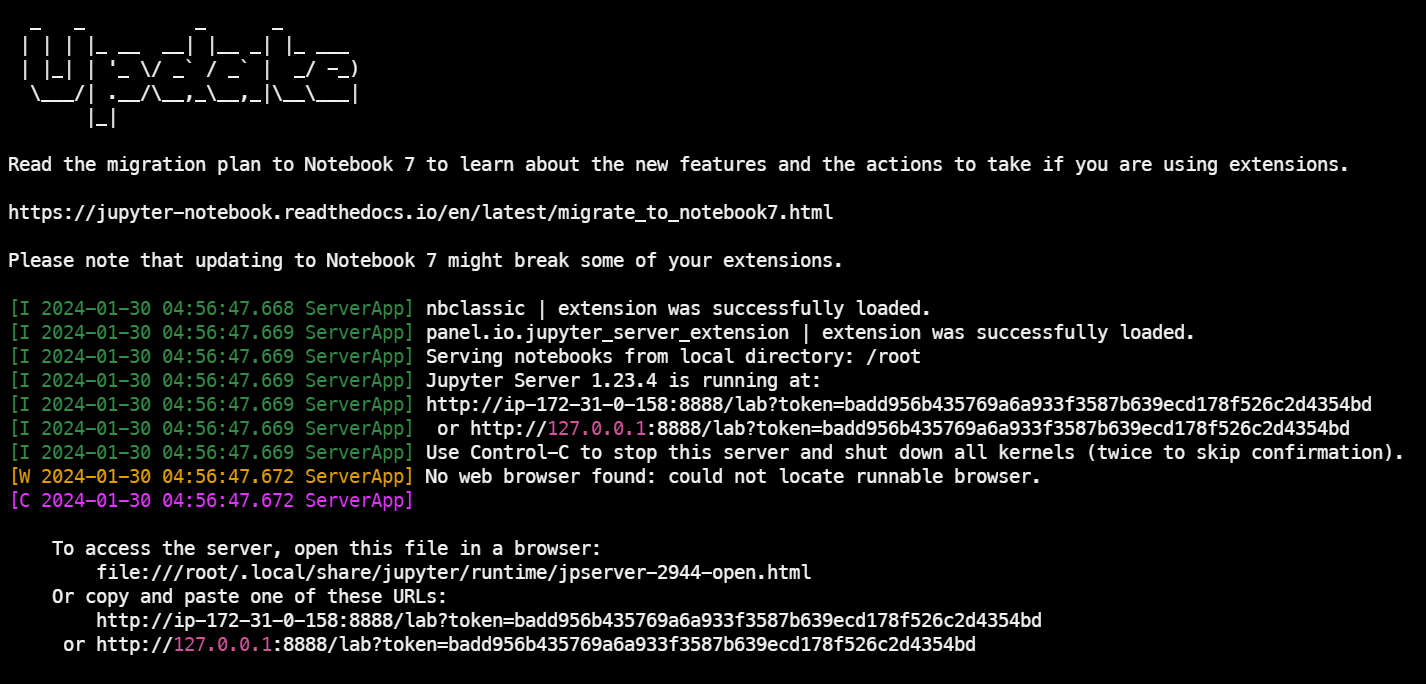
至此,可以通过服务器公网 IP 访问 JupyterLab
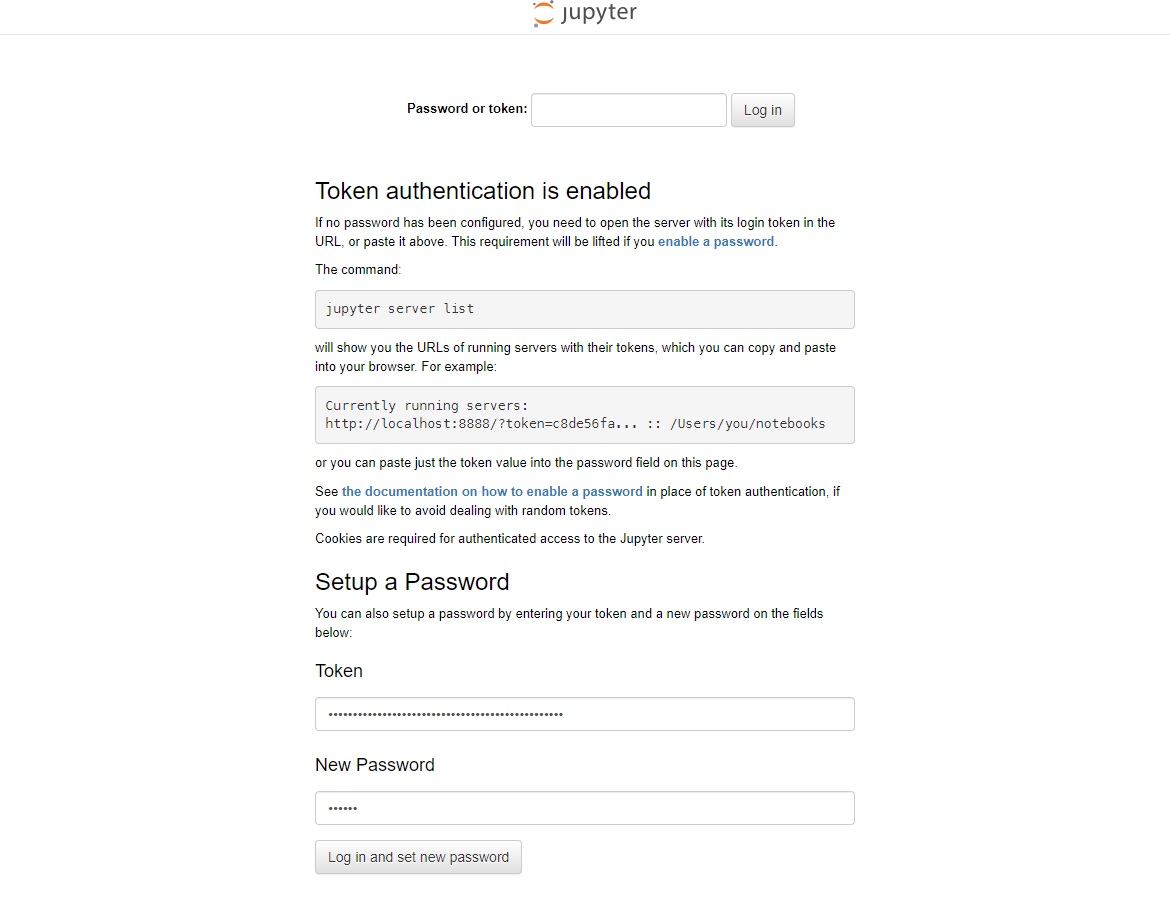
Tip:可以选择页面下方输入 Token 后设置新的密码,下次登录可以通过密码登录而不用输入一长串的 Token
Ubuntu 22.04 安装 JupyterLab
https://blog.jasperxzy.com/2024/01/29/ubuntu_install_jupyterlab/